A Beginner’s Guide to Printing Your Artwork: From File Prep to Final Product
Share
Dreaming of seeing your artwork on mugs, coasters, or decorating someone’s kitchen? If you’re new to printing your creative work, the process can seem a bit overwhelming at first. You might be wondering how exactly your digital designs become real objects, what makes a great print file, or just want a smooth start as you dip your toe into the world of custom merchandise.
Don’t worry, you’re in the right place. This guide will take you from prepping your digital artwork all the way through to holding a finished product in your hands. Whether you’re thinking about showcasing your designs on homeware, selling at markets, or simply creating lovely gifts, here’s how you can get your artwork printed with confidence.
What Does Printing Your Artwork Mean?
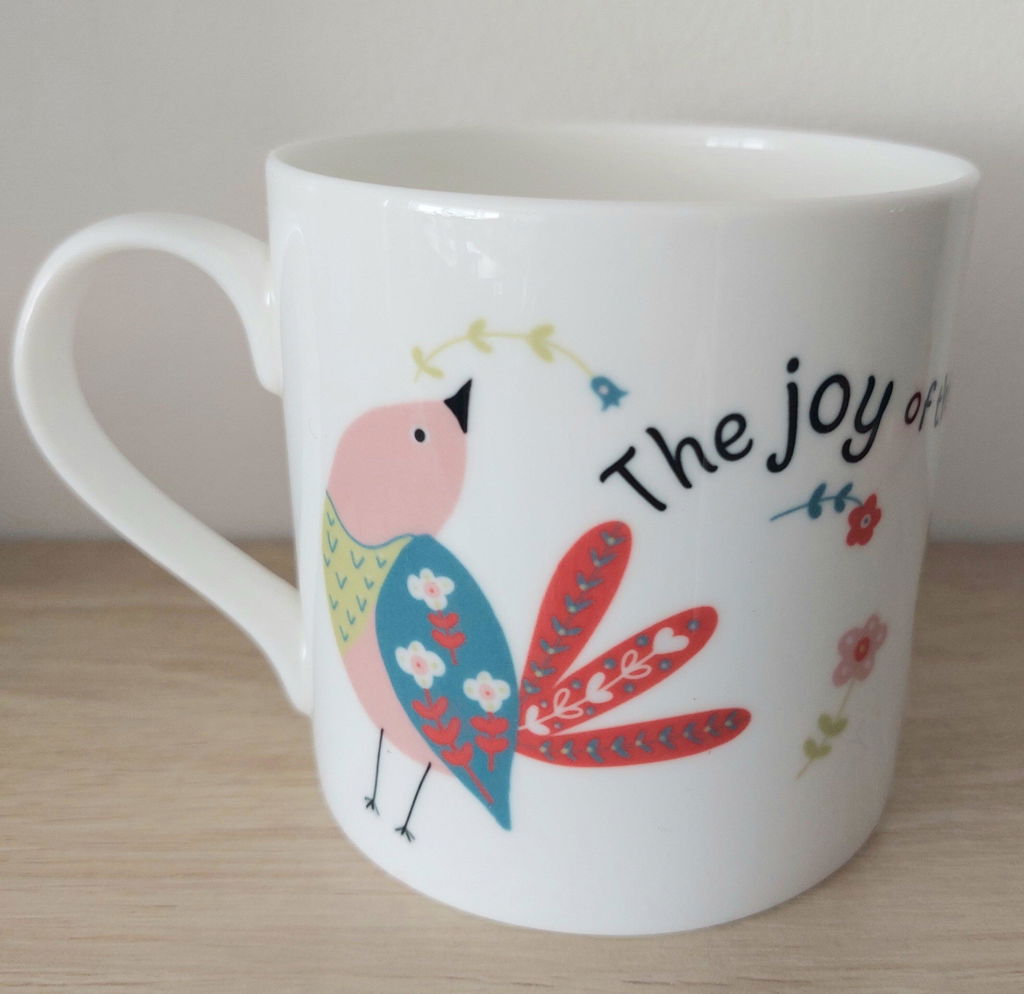
Printing your artwork is all about turning your digital images, paintings, or drawings into physical products like coasters, mugs, or even glass chopping boards. It’s a fantastic way to share your creativity with the world — to brighten someone’s day, build your brand, or add colour to everyday items.
A printed artwork isn’t just a copy of your art stuck on a product. It’s about making sure your designs look bright, crisp, and true to your original vision, whether they’re on a coaster or a kitchen board. Companies like Art Coaster Printing use high-quality materials and expert printing techniques so your art really does the talking.
How Can You Print Your Artwork?
Getting your artwork printed starts with your digital file. The process usually goes like this:
1. Choose Your Product: Decide where you want to see your art. Coasters, mugs, and even unique items like glass chopping boards are all popular choices. Art Coaster Printing offers flexible ordering, so you can order one piece or stock up for a whole stall.
2. Prepare and Send Your Artwork: Once you’ve got your design ready, you’ll upload or email it to the printer. It’s ok if you’re not sure exactly how to do this — a good printing company will guide you and answer any questions.
3. Review Samples: Not sure how your art will look on a different surface? Building your own sample packs let you preview your designs on the real thing before committing to a bulk order. This step helps you spot any tweaks needed for size, colour, or layout.
4. Printing and Shipping: Once you approve your sample or final design, your chosen products are printed, packaged, and sent out to you. Art Coaster Printing prides itself on speedy turnaround and keeping you updated along the way.
With no minimum order quantity, you’re free to experiment or just dip a toe in the water by ordering a single “try it out” piece.
Preparing Your Artwork for Printing: Key Tips
One of the biggest worries for new artists is, “Will my design look right on the finished product?” The trick is in the file prep. Here’s what you’ll need to get the best results:
1. Start With a High-Resolution File
Resolution counts: Aim for 300 dots per inch (dpi) at the final print size. This ensures your design is sharp, not blurry or pixelated. For example, if you’d like your artwork printed on a coaster, size your image to at least 300 dpi at that coaster’s actual size.
If you’re not sure about settings, ask — it’s better to double-check than risk fuzzy results.
2. Choose the Right File Format
Formats like JPEG, PNG, or TIF are common, but PNG is a solid choice for its clarity and support for transparent backgrounds which are best on some items.
If you’re using Photoshop or similar, flatten your file and ensure it’s saved in RGB for most products.
3. Think About Colour Matching
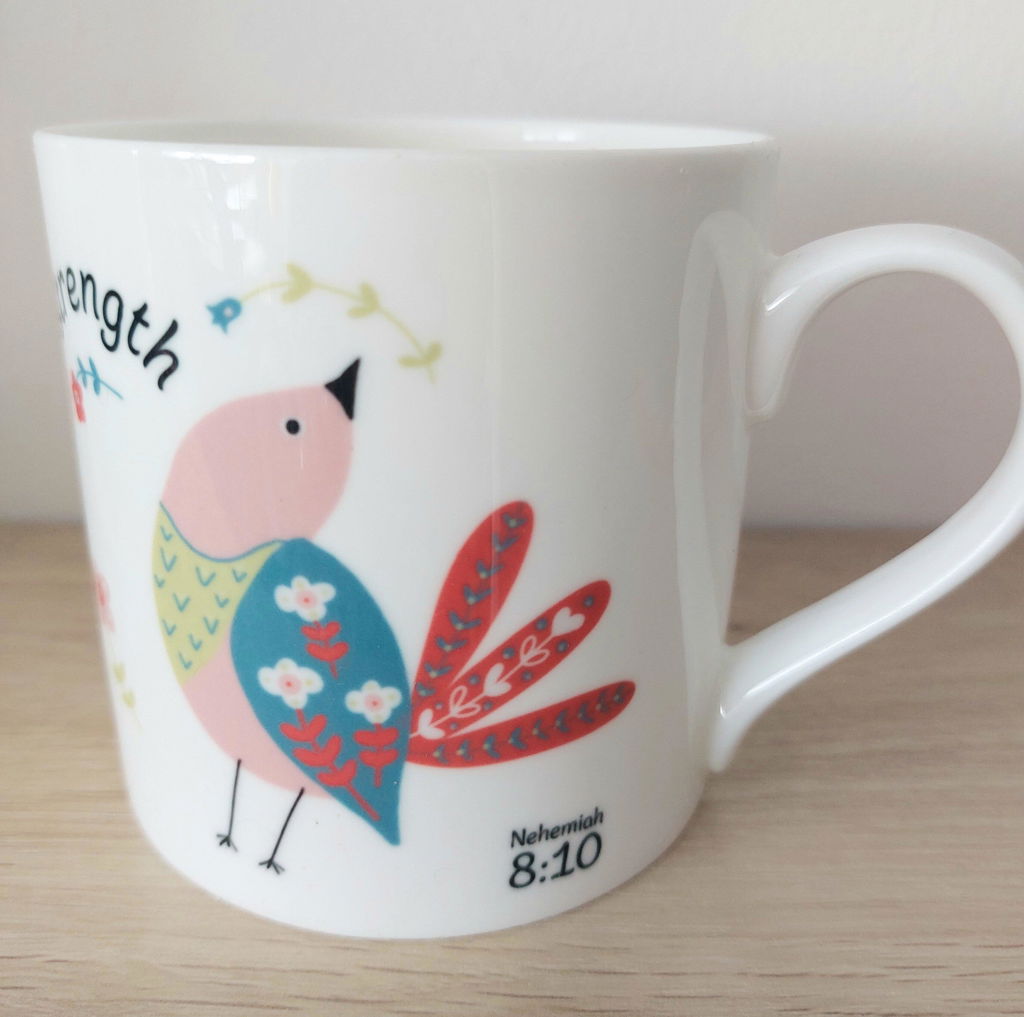
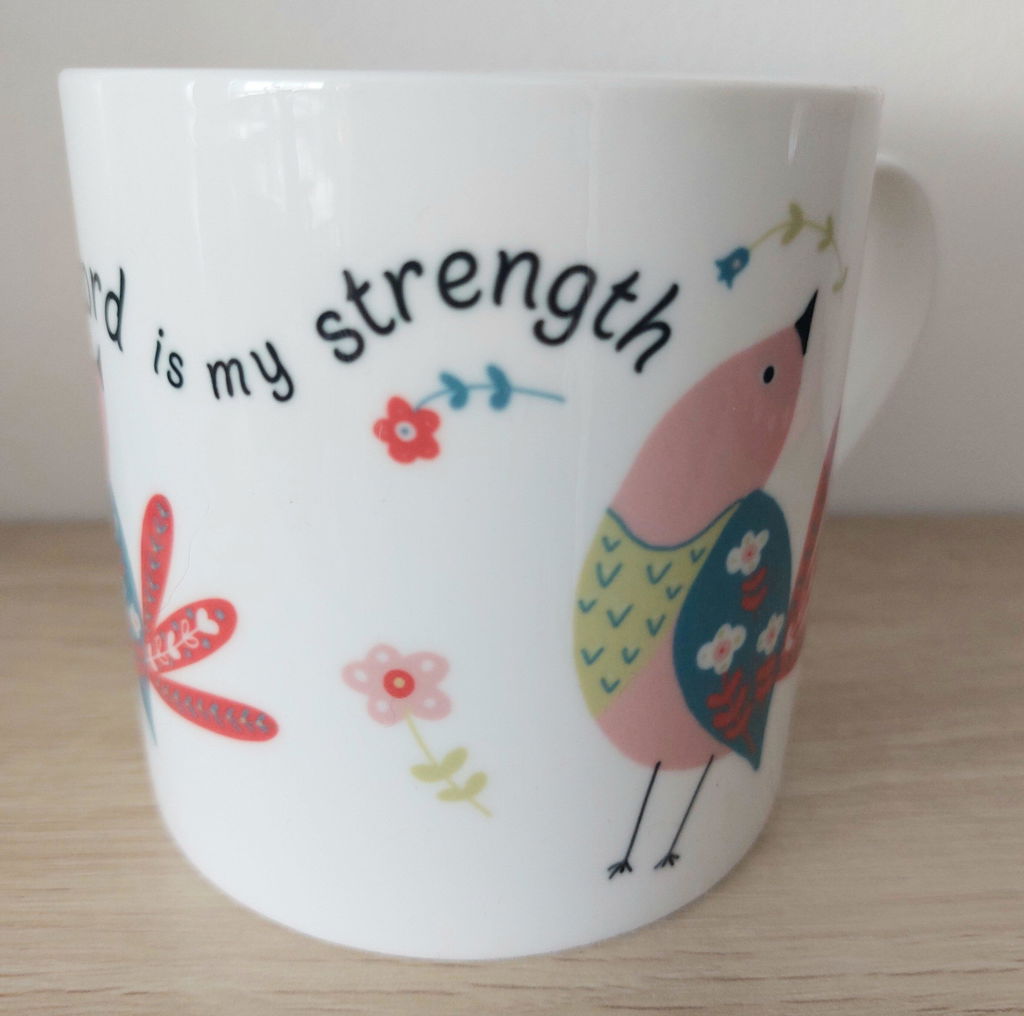
Colours can look different on screen compared to print. Try to use bright, contrasting shades, as these often pop the most on products like coasters and mugs.
If exact tone is vital (for branded products or signature pieces), ordering a sample is the best way to check.
4. Keep It Inside the Lines
Place important design elements away from the very edge, avoiding any risk they’ll be cropped off. If a size is not listed on a product feel free to contact us for the best size to use.
Clean, simple designs or clear focal points often work best, especially on smaller items.
5. Test With a Sample
Patterns or fine textures? Sometimes, what looks perfect on your laptop might need a tweak in print. Samples help you make adjustments without stress. Art Coaster Printing encourages samples and will walk you through the process.
Why Choose Art Coaster Printing?
If you’re feeling nervous about the technical side, you’re not alone. Art Coaster Printing is all about making things easy, even if you’ve never printed your artwork before. Ian and Lynn are always happy to answer questions and guide you through ordering, whether it’s your first single item or a growing product line.
Here’s what you can expect when you work with us:
No order is too small: Want to order just one mug or coaster to start? Go for it.
Speedy, friendly service: Customers regularly comment on helpful communication and quick turnaround times.
Consistent, vibrant prints: We focus on colour accuracy and a glossy, durable finish. That means your artwork will shine, even after plenty of use.
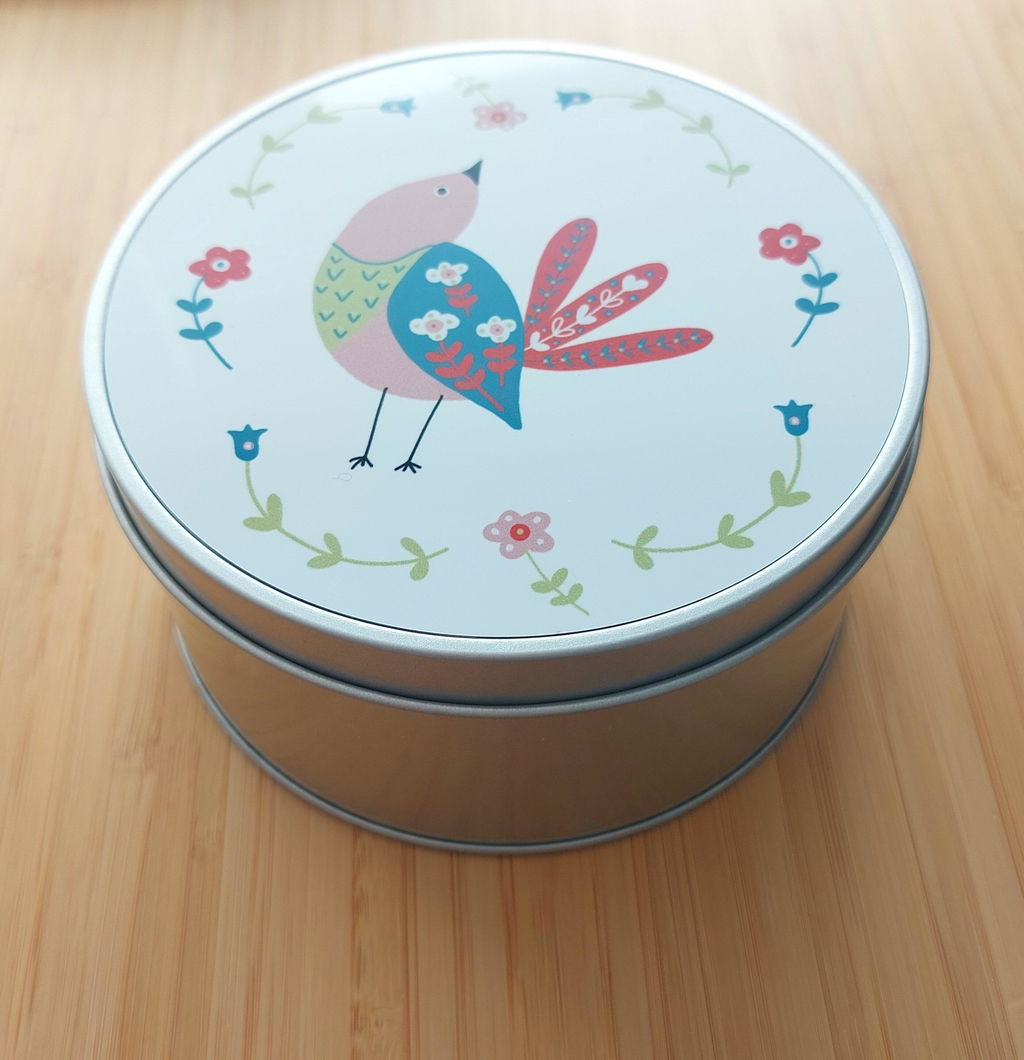
Flexible choice of products: Beyond the classics, why not explore having your design on unique items like glass chopping boards for the kitchen?
We love helping artists and small businesses bring their ideas to life. If you want your artwork printed with care and quality, we’re here to help from file prep to finished product.